
Moisture builds up fast in a warm shower, and that creates an ideal habitat for mold and bacteria. When they settle in the trims and silicone joints, the result is discoloration and a musty smell. The good news is that these stains are usually surface-level, and with the right approach, trims can look fresh again. The key lies in a method that is both gentle and effective, designed to protect materials while restoring their finish.
Why trims and joints turn black
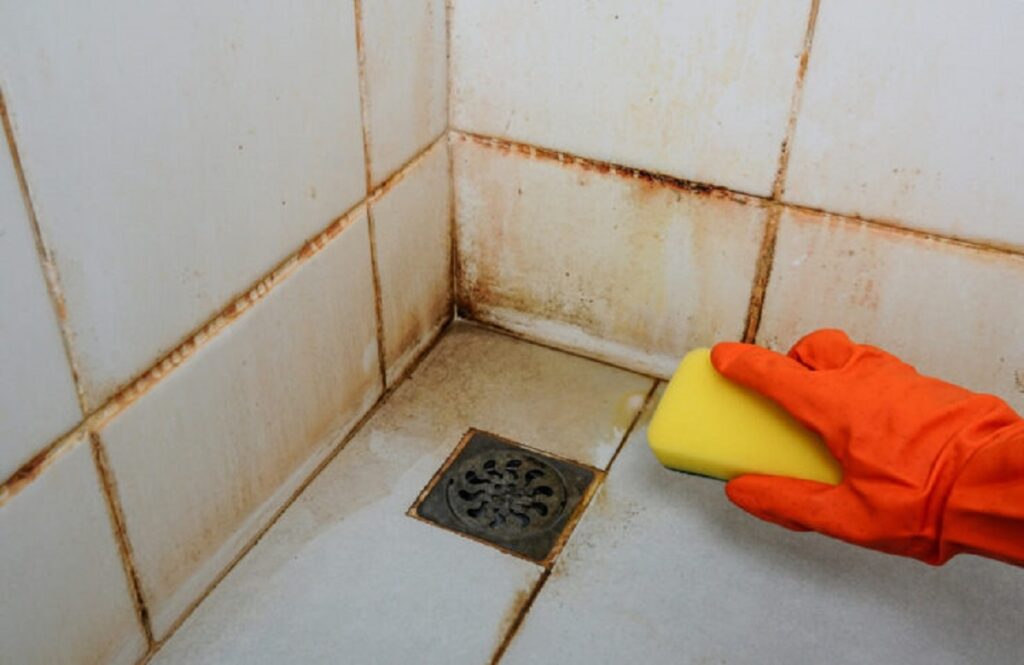
Continuous humidity weakens the protective barrier of grout and silicone, letting water and soap residues sit in micro-crevices. Over time, a biofilm forms that feeds mold and dark stains. Infrequent drying makes the area stay damp, so organisms multiply and the stains become more visible.
Poor ventilation slows down evaporation, so moisture lingers on edges and in recessed corners. Hard water adds mineral scale, which roughens surfaces and traps more dirt. The cycle reinforces itself until cleaning becomes more tedious and less forgiving.
The simple, science-backed trick
A reliable sequence pairs mild alkaline action with light acidity to break down biofilm and lift stains. First, moisture is reduced so cleaners can contact the surface rather than a film of water. Next, a baking soda paste softens grime through gentle abrasion and alkaline saponification. Finally, white vinegar dissolves minerals and destabilizes microbial residues.
- Baking soda for controlled abrasion and odor neutralizing
- White vinegar for mineral dissolving and mild disinfection
- A soft brush for targeted agitation that protects the finish
- Microfiber cloths for lint-free pickup and quick drying
- Optional black soap for plant-based degreasing on delicate surfaces
“Dryness is the quiet hero: keep the area dry, and most mold problems lose their grip before they even start.”
Handling black mold on silicone
Silicone can trap microscopic moisture, making dark colonies look set-in and stubborn. A longer dwell time helps the cleaner reach under the translucent skin of the sealant for better brightening. Where staining has penetrated deeply, cosmetic improvement remains possible, even when a perfect return to white is not realistic. Consistency matters more than aggressiveness, because harsh scrubbing can tear the seal and encourage new leaks.
For heavy colonization, diluted bleach offers targeted oxidation, but caution reduces material damage. Good ventilation protects indoor air, while gloves and a mask reduce exposure to spores. After treatment, complete drying limits rebound growth and keeps the bead looking clean.
Keeping the problem from coming back
Prevention depends on balancing humidity and time-to-dry. Air movement shortens wet windows, so a fan or open window improves surface evaporation. A quick wipe with a towel removes standing water, starving organisms of what they need to bloom. Weekly touch-ups maintain the protective sheen, so deep cleans become shorter and less intense.
- Prioritize air flow right after every shower
- Remove pooled water from trims and lower joints
- Address tiny leaks before they expand into costly repairs
- Refresh the outer silicone skin when it loses elasticity or gloss
What to do with yellowed grout
Yellowing often combines soap film, mineral scale, and light organic staining. The alkaline-and-acid pairing works well here too, with the fizz helping to lift embedded residue. Gentle mechanical action loosens the top layer without gouging the grout. On older installations, a grout renewer restores color while sealing out new soil.
Where the discoloration is mostly mineral, longer acid contact—still mild—proves more effective than hard scrubbing. Rinse and dry thoroughly to prevent re-depositing minerals as water dries.
When replacement makes sense
Silicone eventually loses elasticity, becoming brittle and less waterproof. If the bead is pitted, cracked, or chronically stained, replacement brings back integrity and appearance. Old silicone is usually removed with a sharp, controlled cut, followed by residue cleanup. A fresh bead adheres best to clean, dry surfaces, and a smooth finish minimizes future build-up.
A high-quality, bathroom-rated sealant improves resistance to mold and daily steam. After curing, routine drying preserves the bead’s flex and reduces the need for strong chemicals later.
The bottom line
Persistent moisture drives most stains, but consistent drying and gentle chemistry keep trims bright and joints sound. With an approach that respects materials and tackles the biofilm layer, cleanliness lasts longer and effort stays low. The bathroom feels fresher, the surfaces look newer, and the space remains healthier for daily use.


